The Best Grind Setting Is the One You Can Correct
A repeatable adjustment process makes better coffee than a borrowed grinder number.
The familiar shortcut goes like this: find a recipe, copy its 14-click setting, and expect the same cup. That number may be precise on the original grinder, yet it carries little meaning on another model. Burr geometry, calibration, bean density, filter material, and brewer shape all change how the grounds behave. Even two grinders from the same product line may begin from slightly different zero points.
Package labels such as “medium” or “fine” offer a useful direction, although their visual ranges remain broad. Comparing grounds by sight introduces another problem. A bed may appear evenly medium while holding enough powder-like fines to slow the brew.
Replace the Number With a Baseline
Start by brewing one cup at a plausible setting. Observe it, let it cool, taste it, and move the grinder in one direction. That first cup is a baseline rather than a verdict.
I treat the grinder’s number as an address inside one kitchen: useful for returning tomorrow, largely useless for giving directions to someone with a different grinder.
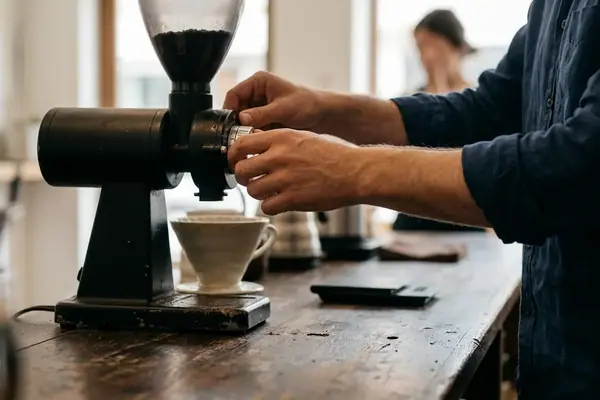
The Collar Rule: Keep the recipe steady, move the grinder a small amount, and give each adjustment a full brew before moving again.
This routine puts a natural limit on experimentation. Once the cup tastes balanced and the brewer behaves predictably, stop. Another adjustment may simply spend more coffee without producing a meaningful improvement.
What Finer and Coarser Grounds Change in the Cup
Grinding finer exposes more coffee surface to water. It also tends to create greater resistance as water passes through a bed of coffee. Grinding coarser exposes less surface and usually permits easier flow.
Those two effects often occur together in filtered coffee. A finer setting can increase extraction while extending drawdown. A coarser setting can shorten contact and reduce extraction. Espresso responds through pressure and flow, while immersion methods allow coffee and water to remain together for a set steep. The same movement of the grinder therefore has different practical consequences across brewers.
Average Size Hides the Fines
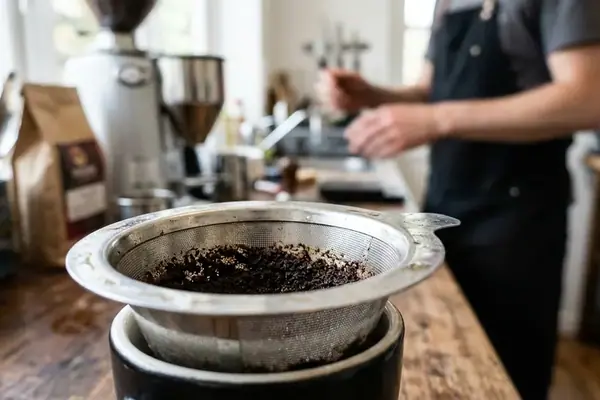
Particle uniformity matters as much as the apparent average texture. Small particles migrate through the bed and settle against paper pores. Water then pools above the coffee, even if most of the grounds look appropriate.
A common pattern: a brew expected to finish around 2:45 stretches past 3:30 after fines settle near the bottom of the filter. The extended drawdown points toward restricted flow. A more uniform, slightly coarser setting becomes a sensible next test.
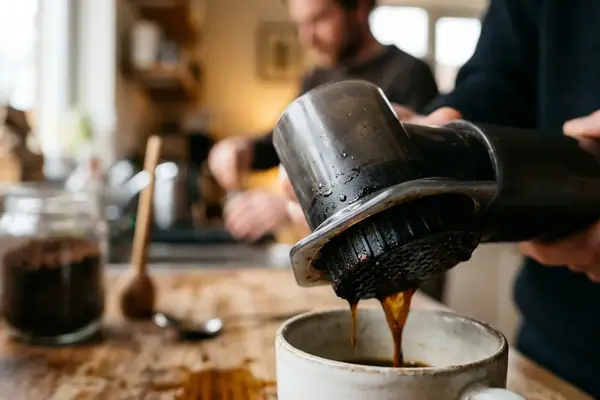
Fines can also produce sediment in immersion coffee or contribute to uneven resistance in espresso. Their presence does not automatically condemn a grinder. The question is whether they interfere with the brewing method in front of you.
Choose a Starting Texture for the Brewer
A starting grind should reflect the brewer’s geometry, pressure, filter, and contact time. Relative texture gives a more transferable guide than universal click settings.
Pressurized Brewing
- Espresso: Begin fine enough to create controlled resistance under pressure. Espresso machines commonly operate around 9 bars, so small grind changes can alter shot flow substantially. Refine the setting through flow and taste rather than appearance alone.
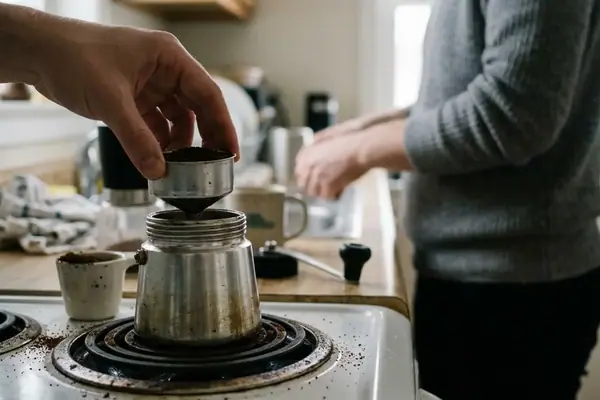
- Moka pot: Start fine to medium-fine. Avoid an espresso-like powdery texture that restricts water movement through the basket. The bed should offer resistance without choking the brewer.
Filtered and Immersion Brewing
- Pour-over: Begin in the medium range, then watch how water moves through the bed. A prolonged pool suggests excessive resistance; a rapid drop may support a finer test if the cup also tastes thin or sharp.
- Automatic drip: Use a medium starting texture suited to steady water delivery and paper filtration. Batch size and basket shape may require a later adjustment.
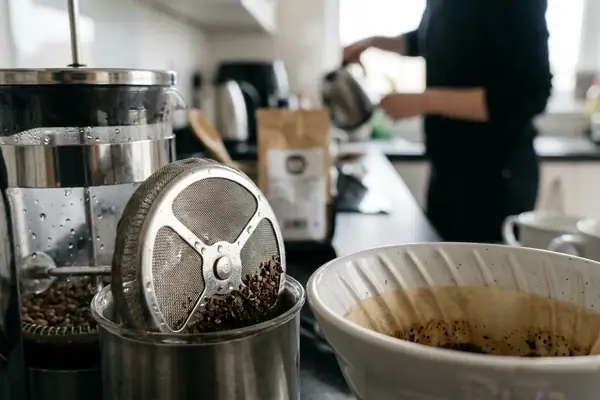
- French press and other long-steep immersion brewers: Begin coarse. A typical immersion steep of 4 to 5 minutes provides sustained contact, so a very fine grind can bring excess sediment and difficult plunging.
These ranges establish the first brew. Taste decides the next move.
Dial In One Cup Without Chasing Variables
The most informative grind test begins before the grinder turns. Hold the coffee dose, water amount, temperature, filter, pouring pattern, agitation, and intended brew time as steady as the method permits.
A Controlled Brewing Sequence
- Set the recipe. Weigh the same coffee and water for each comparison. Use the same filter and brewer.
- Record the setting. Write down the collar position or grinder number in its own units. The notation is for personal repeatability.
- Brew before judging. Watch flow speed, pooling, drawdown, stalling, channeling, plunge resistance, or visible sediment, depending on the brewer.
- Wait for a useful tasting temperature. Allow 4 to 6 minutes after brewing so the cup drops below 140°F (60°C). Acidity and sweetness become easier to evaluate as intense heat recedes.
- Choose one direction. Move finer when the evidence points toward insufficient extraction. Move coarser when the cup and flow suggest excessive or uneven extraction.
- Repeat once. Brew the same recipe and compare the result with the baseline.
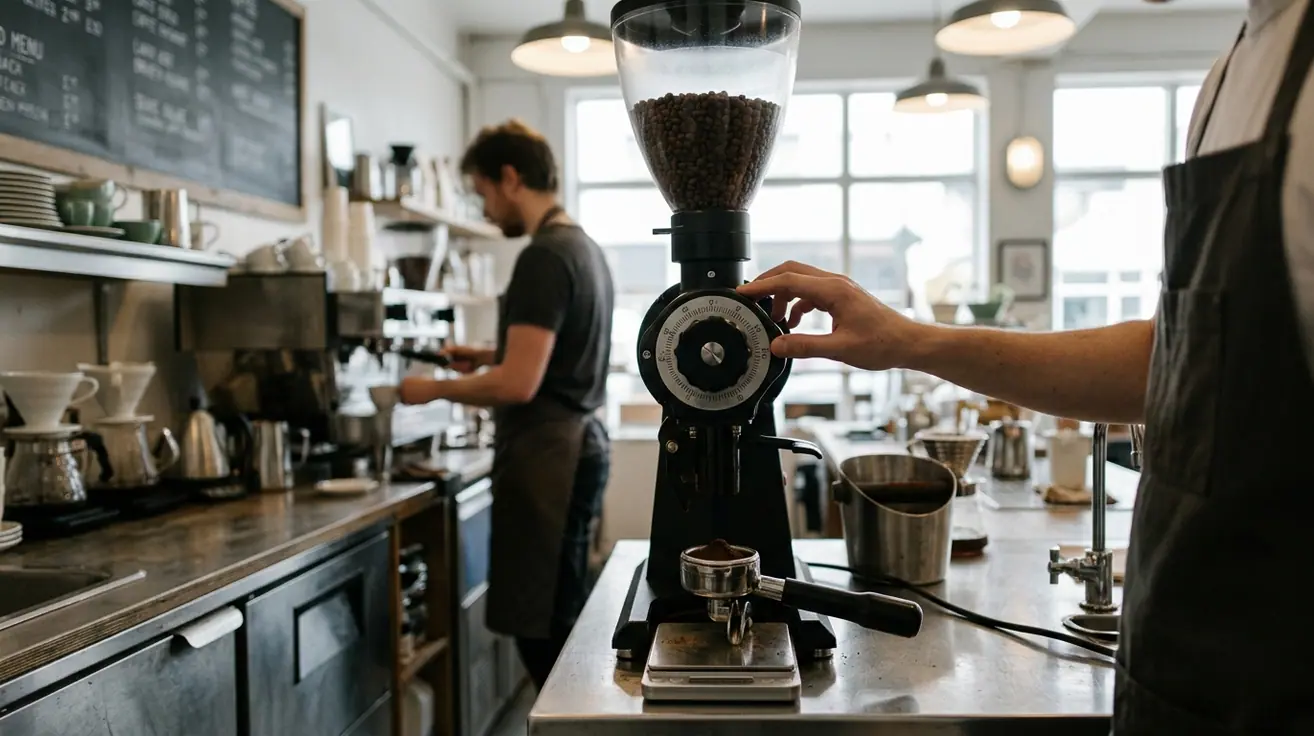
Advanced grinders may permit burr-gap changes measured in microns. For a minor flavor imbalance, a movement in the range of 10 to 15 microns can be enough to test a correction without choking the flow. On stepped home grinders, one click may be the smallest available move.
When Isolation Stops Working
Single-variable testing becomes less informative when drastically different roast levels enter the same session. A sudden change in bean solubility can mask the subtler effect of a burr adjustment. Establish a new baseline for the second coffee instead of carrying the previous setting forward unquestioned.
Cool Before Calling: A steaming cup can hide sweetness and exaggerate the impression of harshness. Make the flavor decision after the short cooling interval.
Correct Sour, Bitter, Weak, or Muddy Coffee
Flavor gives the adjustment direction; brewer behavior checks whether that diagnosis makes physical sense. Use both before touching the collar.
Grind Troubleshooting Matrix
| Cup Symptom | Likely Grind Cause | First Adjustment | Variables to Check First |
|---|---|---|---|
| Sour, sharply acidic, thin | Underextraction from particles that are too large | Adjust modestly finer | Low water temperature or short brew time |
| Bitter, drying, or hollow | Excessive or uneven extraction | Adjust modestly coarser | Excess heat, agitation, or contact time |
| Weak but otherwise balanced | Grind may already be suitable | Keep the grind and use more coffee relative to water | Dose, water amount, and scale accuracy |
| Muddy or silty | Too many fines or a setting unsuited to the filter | Move coarser and reassess uniformity | Filter fit, grinder cleanliness, and agitation |
| Fast flow with a thin cup | Bed offers too little resistance | Move finer | Pour placement, channeling, and coffee dose |
| Stalled flow with a harsh cup | Excess fines or an overly fine setting | Move coarser | Heavy agitation and filter seating |
Read Flavor and Flow Together
Consider a pour-over that tastes sharply acidic and thin. If the water also passes through quickly, the evidence aligns: move the burrs closer together. The finer grind increases surface area and resistance, creating more opportunity to extract sweetness.
A sour cup with an unusually long, stalled drawdown requires a different diagnosis. Channeling, a low water temperature, or uneven pouring may have produced weak extraction despite the long total time. Grinding finer would intensify the blockage.
Bitter coffee deserves the same two-part check. A slightly coarser setting may help, but excessive agitation or an extended contact time can produce a similar taste. The table provides a first move, not permission to ignore the rest of the brew.
Know When to Leave the Grinder Alone
Grind adjustment has a defined job: it changes particle size, surface exposure, and resistance. It cannot restore stale coffee, correct unsuitable water, repair inaccurate weighing, or stabilize an inconsistent pour.
Strength Is a Recipe Question
If coffee tastes balanced yet feels too concentrated, preserve the successful extraction and change the coffee-to-water relationship. A shift from 1:15 to 1:17 introduces more water relative to the same coffee dose, producing a lighter cup without disturbing the grind setting.
The reverse applies to a balanced cup that feels too light. Adjust the relationship toward more coffee or less water, then brew again with the same grind.
Inconsistency Calls for an Audit
Wildly different drawdown times from consecutive brews should prompt a pause when the grinder collar has remained untouched. Inspect the scale, timer, water delivery, filter seating, grinder cleanliness, and pouring technique.
- Confirm that the dose and water amount match the written recipe.
- Check whether the filter sits evenly against the brewer.
- Watch for a forceful pour that disturbs one side of the bed.
- Look for retained grounds or buildup around the burrs and chute.
- Use the same agitation pattern for the comparison brew.
Hold the Setting: When the collar stays fixed but the brew changes dramatically, search for the moving variable elsewhere.
Save the Setting, Then Let the Next Bag Move It
A successful grinder position deserves a place in the brew log. Record the coffee, brewer, dose, water amount, filter, setting, and a short taste note. That entry gives tomorrow’s cup a reliable starting point.
Treat it as temporary. A new coffee, another roast level, a changed batch size, or a different filter can alter flow and extraction. Beans approximately 12 to 14 days after roasting may also call for a slightly finer adjustment as carbon dioxide release slows.
Return to the Same Four Moves
- Begin from the saved baseline.
- Observe the brewer’s physical behavior.
- Taste after the cup cools.
- Make one small directional change.
At a home café counter the next morning, a brewer opens the notebook beside a fresh bag, turns the collar to yesterday’s mark, and starts the kettle. The pour runs a little faster than before. After the cup cools, one quiet click finer goes into the margin for tomorrow.