The Morning Your Coffee Gear Starts Working Against You
At 6:15 AM, the counter tells the truth.
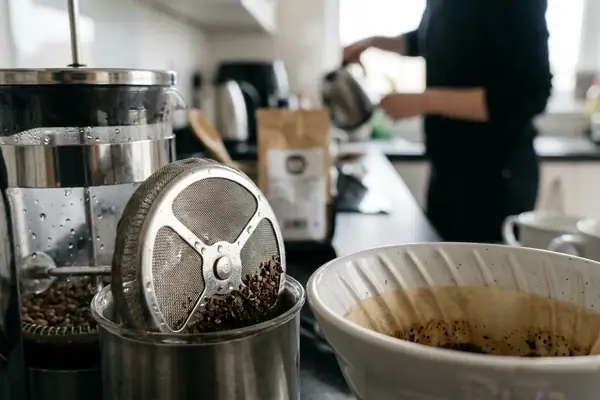
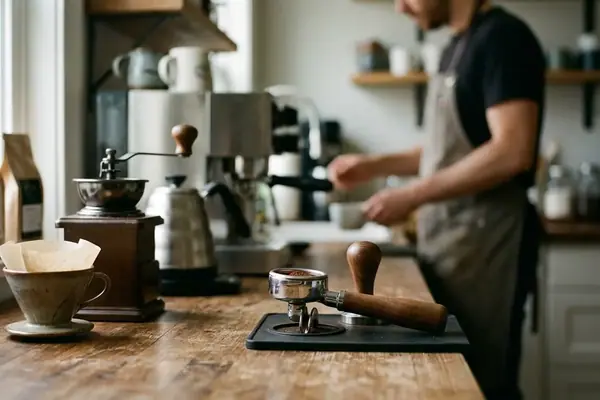
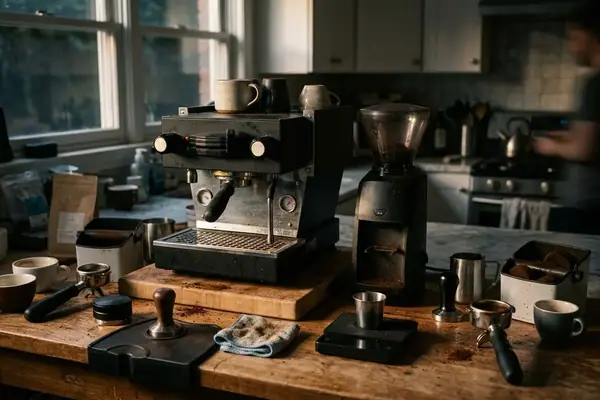
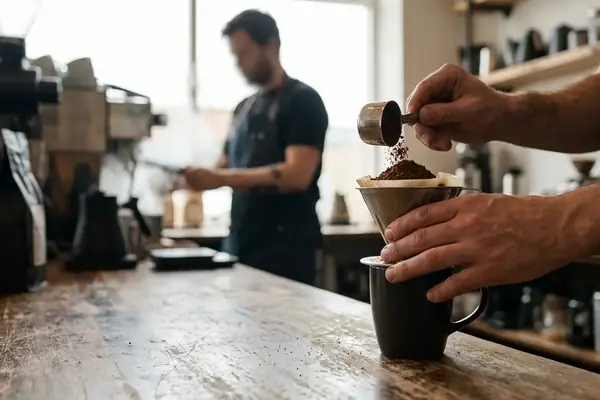
There are grounds in the seam beside the grinder, a scoop wobbling on top of the bag, a kettle leaving a thin drip across the stovetop, and a mug cooling while the brewer tries to remember whether yesterday’s cup used one scoop or one-and-a-half. This is not the moment for a performance. It is the moment for coffee brewing to feel steady.
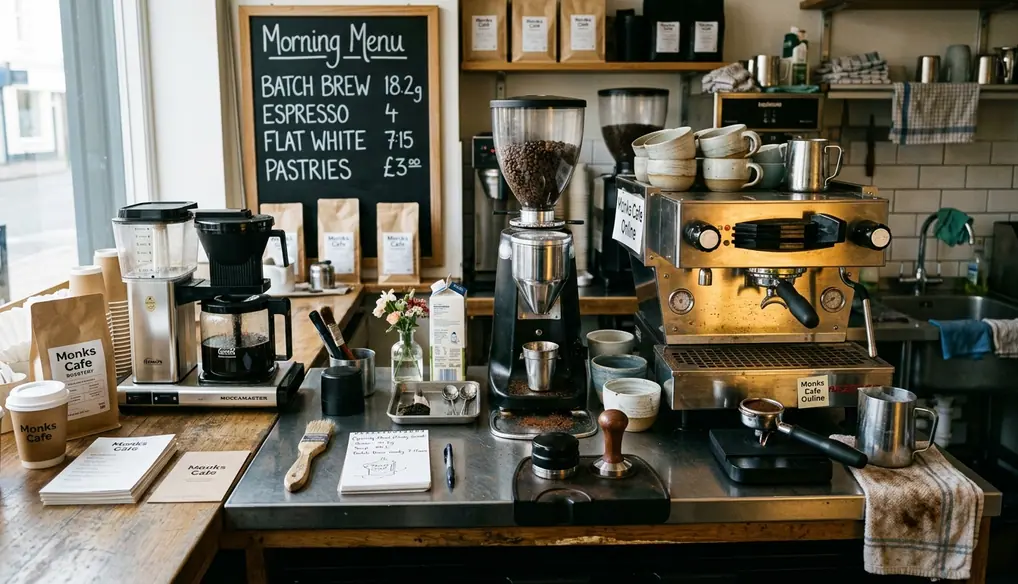
Small coffee gear upgrades can help, but they can also become little chores with nicer packaging. The wrong tool adds rinsing, charging, calibrating, and one more decision before breakfast. The right tool removes a point of friction you already feel.
The standard here is deliberately plain: every recommendation should make brewing easier, cleaner, or more repeatable without asking you to adopt a hobbyist-level workflow. If it cannot earn its place in a 6:15 AM to 6:30 AM brewing window, it does not belong near the mug.
What Makes a Coffee Upgrade Worth Keeping
A good upgrade does not need to impress anyone. It needs to be easy to learn, reasonably priced for how often it helps, small enough to live near the brewer, quick to clean, and compatible with more than one style of home café routine.
The best small tools remove uncertainty from ordinary variables: how much coffee you used, how much water went in, whether the grind stayed consistent, whether the pour flooded the bed, and whether wet grounds ended up in the trash can rim again.
- Low learning curve: you should understand it after one or two brews.
- Small footprint: the most useful tools often take less than 5 by 5 inches of counter or drawer space.
- Fast cleanup: daily cleaning should take under 15 seconds, usually a rinse or wipe.
- Broad compatibility: the tool should help across mugs, brewers, grinders, or bean types.
- Problem-first value: it should solve something that annoys you now.
Warning: A tool that solves a problem you do not actually have becomes another object to store, clean, and feel guilty about.
That last point matters. A tiny accessory can still create clutter if it asks for attention every morning.
1–2. Start With Measuring: A Scale and a Better Scoop
Upgrade 1: A compact digital scale
If your coffee tastes different every day and nothing else has changed, start with the dose. A compact digital scale that reads in grams and fits under a mug, brewer, or French press is the least glamorous upgrade on the counter and often the most clarifying.
Look for 0.1-gram resolution and a display that does not lag badly during a slow pour. Standard kitchen scales can round up unpredictably while water trickles in, and that can leave you with a 10-gram variance before you notice the number has jumped. A useful coffee scale should respond within 2 to 3 seconds, not make you chase the display.
You do not need exacting precision to make a better cup. What you need is repeatability: weigh the beans before grinding, check the water amount, and write down the cup that tasted especially good so you can make it again.
Measured ratios are not just a home brewer habit. The Specialty Coffee Association cupping protocol uses 8.25 grams of coffee per 150 milliliters of water as a common cupping standard.
Upgrade 2: A scoop you can trust
A better scoop is for the mornings when the scale stays in the drawer. Choose one that is sturdy, easy to level, and shaped so it does not dive into the bag like a shovel.
The scoop will never be as exact as a scale because bean size and roast density change the amount it holds. Still, a stable scoop beats a flimsy one that spills half its contents on the counter. It is a backup tool, not the main measurement system.
3–4. Make Beans Easier to Handle: Grinder Brush and Airtight Storage
Upgrade 3: A small grinder brush
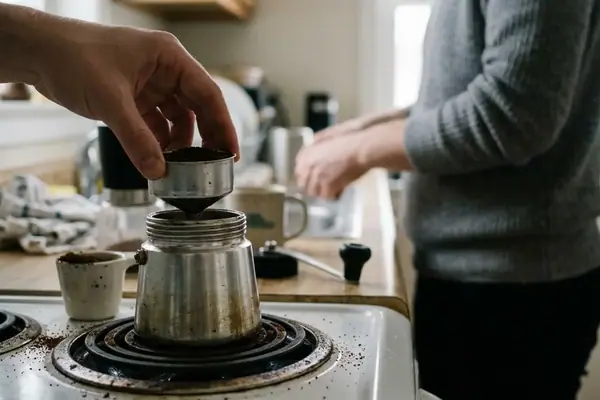
Ground coffee hides in irritating places: the chute of an electric grinder, the threads of a hand grinder, the corner of a dosing cup, the counter seam beside the machine. A small grinder brush gives those leftovers a regular exit.
The everyday payoff is simple. Fewer stale grounds mix into the next brew, the counter looks less dusty, and resetting after grinding takes a few quick strokes. For most home setups, bristles around 1.5 to 2 inches long reach the useful spots without feeling oversized.
Upgrade 4: An airtight, opaque storage container
Coffee storage gets overcomplicated fast. For most kitchens, an opaque canister or simple sealing container sized for the bag you actually buy is better than an elaborate system you dislike using.
A container that holds 250 to 340 grams of whole beans suits many retail bags and helps block ambient kitchen humidity and UV light. I would skip fussy vacuum mechanisms if fine coffee dust keeps reaching the seal; dust can compromise the silicone gasket and turn the clever lid into another cleaning project.
Key Takeaway: Storage should protect the beans and make the next brew easier to start. If opening the canister feels like operating a gadget, it has missed the point.
5–6. Improve the Pour Without Turning It Into Performance
Upgrade 5: A gooseneck kettle for pour-over control
The common question is not whether a gooseneck kettle looks nice. It is whether your brewer needs a controlled stream.
For pour-over drinkers who flood the coffee bed, miss the filter edge, or pour too aggressively, a gooseneck kettle can make the whole process calmer. The value is flow restriction, not theater. A steady stream around 4 to 6 milliliters per second gives the brewer time to absorb water without turning every pour into a wrist exercise.
Temperature control can help if you like manual brewing. A practical target range of 90 to 96 degrees Celsius covers many hot coffee methods without turning the kettle into a science project.
Scope matters here. A gooseneck kettle provides no benefit for full-immersion methods like French press or standard auto-drip machines, where pour precision does not dictate extraction.
Upgrade 6: A consistent water choice
If coffee tastes flat, harsh, or distracting no matter which beans you buy, water deserves a look. The beginner move is not to start adjusting minerals by hand. It is to make the water consistent.
A simple filter pitcher may be enough if local tap water carries flavors that distract from the coffee. Some drinkers do better by choosing one bottled water and sticking with it for a while. The point is not perfection; it is removing one variable from the cup.
7–8. Small Accessories That Keep the Brew Bed Under Control
Upgrade 7: Paper filters that fit properly
A paper filter can ruin a brew quietly. It folds at the edge, collapses against the wall, slows the final drawdown, and leaves you wondering why the same coffee tastes heavier today.
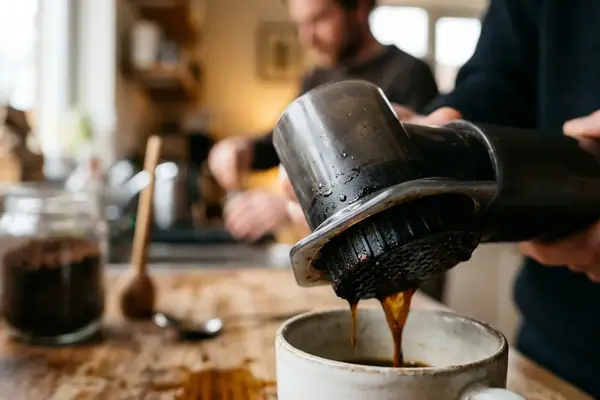
Buy filters for the exact brewer shape and size: cone filters for cone brewers, flat-bottom filters for flat-bottom brewers, AeroPress-style discs for that format, and basket filters for basket brewers. The seam and paper density matter because filter drawdown times can vary by 15 to 25 seconds based on paper thickness.
Better fit also makes rinsing easier. The filter sits where it belongs, the edges behave, and the brew bed stays more predictable.
Upgrade 8: A dosing cup or grounds transfer cup
A dosing cup looks almost too simple to mention until you stop spilling grounds between grinder and brewer. It gives ground coffee a temporary place to land, then a controlled way to move.
For everyday home brewing, the cup only needs to handle 15 to 30 grams of grounds comfortably. That covers many single-mug and small-batch routines without bringing a large café tool onto a small kitchen counter.
9–10. The Unromantic Upgrades You Will Use Every Day
Upgrade 9: A dedicated coffee towel
A dedicated microfiber bar towel earns its place because coffee brewing is wet in small, annoying ways. Steam condenses. Filters drip. Brewer parts sit damp. Kettle lids leave rings.
Keep the towel near the brewing area and let it handle coffee oils, stray water, and damp gear instead of pressing the dish sponge into service. A microfiber towel in the 300 to 400 GSM range has enough density to absorb routine drips without feeling like a bath mat on the counter.
Upgrade 10: A knock bin, compost bowl, or grounds container
Spent coffee needs a destination. For espresso-style pucks, a small knock bin makes sense. For paper filters, a compost bowl or lidded grounds container may fit the household routine better.
The useful size is the one that prevents daily mess without becoming a second trash can. A small container that holds 6 to 8 spent pucks or filter beds can carry a household through several brews before it needs emptying.
Pro Tip: Put the towel and grounds container on the same side as your brewer. Cleanup becomes one reach, not a lap around the kitchen.
How to Choose Your First Upgrade Without Buying the Whole List
Do not start with the product. Start with the irritation.
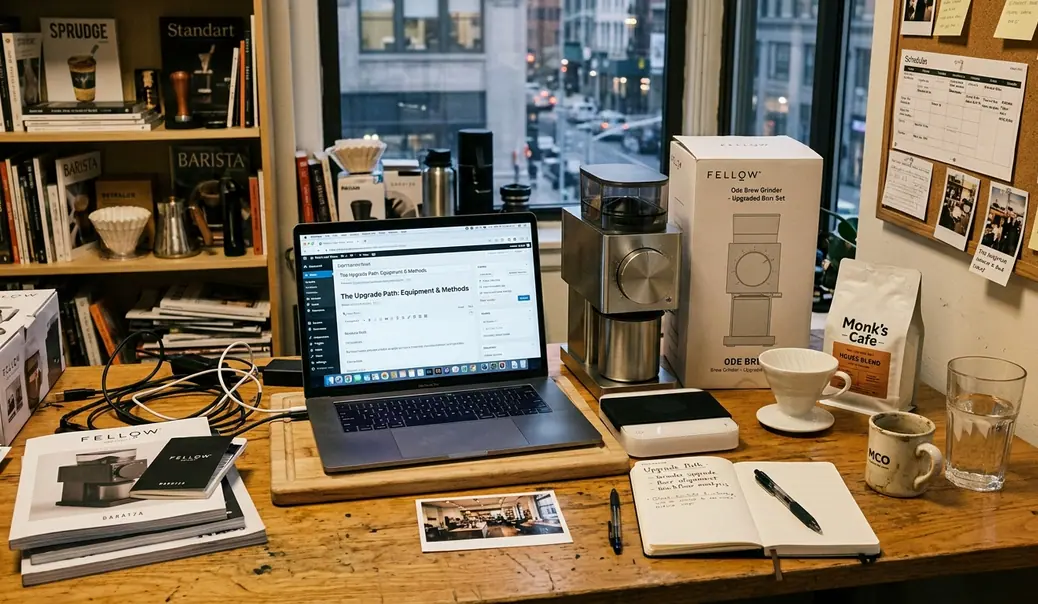
We initially considered sorting these upgrades by budget tiers, but that order rewards cheap clutter. A low-cost tool for a non-existent problem is still clutter, so the better path is to match one upgrade to one brewing parameter.
- Cups taste different every day: start with a compact gram scale.
- The counter is always messy: start with a dosing cup and grinder brush.
- Pour-over feels chaotic: consider a gooseneck kettle.
- Coffee tastes stale quickly: use an opaque, airtight container sized to your usual bag.
- Cleanup keeps delaying the habit: add a dedicated towel and grounds container.
The practical sequence is boring, which is why it works: buy one tool, use it for 10 to 14 days, and watch whether the original annoyance actually fades. During that window, avoid changing beans, grind setting, water, and brewer all at once. Isolating one brewing parameter gives the upgrade a fair test.
The goal is a simpler counter, not a miniature café lab. That is why the measuring baseline stays fixed at 8.25 grams of coffee per 150 milliliters of water: it is the one number worth keeping steady while everything else on the counter gets quieter.