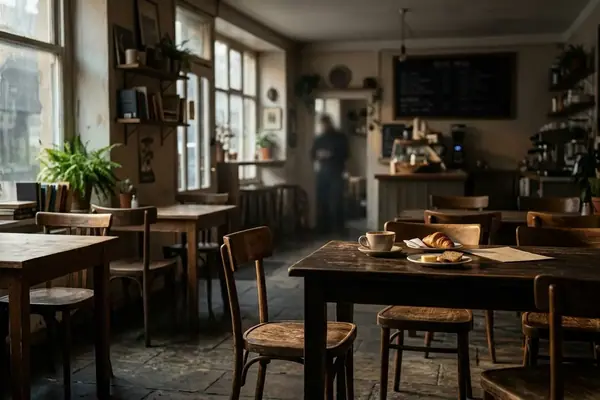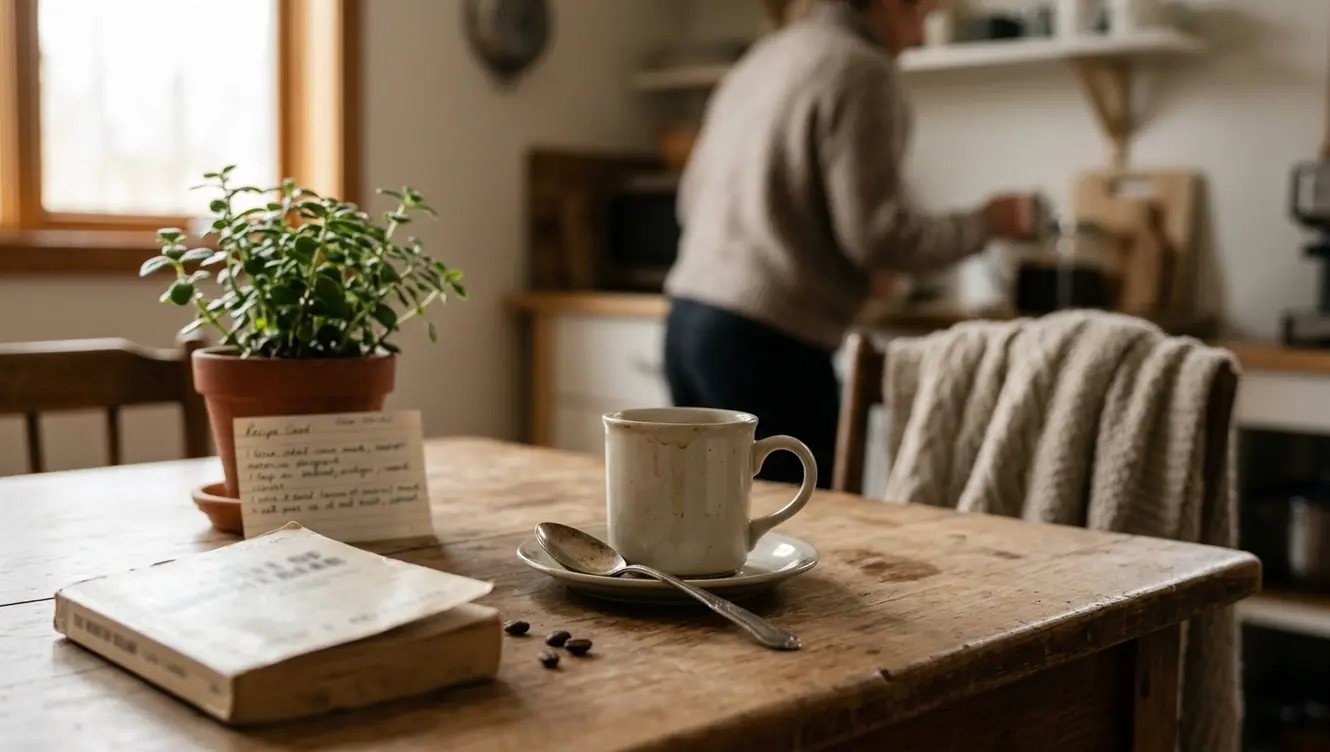
A home café corner works best when it behaves less like a display and more like a small, reliable station. The pretty part matters, of course, but the real test happens on a Tuesday morning when the kettle is empty, the mugs are across the room, and someone left yesterday’s spoon on the counter.
Table of Contents
- Why Most Home Café Corners Look Better Than They Work
- Start With the Spot, Not the Espresso Machine
- Decide What Kind of Café Moment You Want
- Build the Core Setup With Only What You Use
- Use Zones So the Corner Stays Tidy
- Add Café Atmosphere Without Adding Clutter
- Three Simple Setup Plans by Budget and Space
- Keep the Routine Light Enough to Last
- What a Simple Home Café Corner Cannot Fix
Why Most Home Café Corners Look Better Than They Work
The home café corner usually starts with a nice image: a tray, a framed print, a few matching mugs, maybe a syrup bottle with a handwritten label. Then the week starts.
By day four, the filters have migrated to a drawer. By day five, the counter has picked up mail, snack wrappers, and a stray charging cable. Clutter tends to overtake an unoptimized coffee station within roughly four to six days of the initial setup, which matches what I see when people build the corner around décor first and movement second.
The common problem is simple: the station looks charming, but it makes the drink harder to prepare.
A beautifully styled coffee cart that becomes a dumping ground for mail because it lacks a defined workflow is not a failed design taste. It is a missing system. A good home café corner should reduce morning friction: fewer steps, fewer scattered supplies, less searching, and a more pleasant rhythm before the day gets noisy.
Key Takeaway: Treat the café corner as a work area first. If it also looks beautiful, that is the reward for getting the routine right.
Start With the Spot, Not the Espresso Machine
The question I hear most often is, “Where should I put the coffee station?” The better question is, “Where do I already move when I make coffee?”
Walk the route before you move the gear
Take an empty mug and stand in the spot you are considering. Now walk through the entire process: fill water, measure coffee, brew, toss the filter or grounds, grab a spoon, add milk, and set the drink down. Do not skip the small steps. They are the ones that decide whether the corner feels natural.
Check five things before you commit:
- Water access, especially if you use a kettle or refill a reservoir daily.
- Outlet access that does not require a cord to cross a sink or walkway.
- Counter clearance for lids, grinders, and open reservoirs.
- Trash or compost access for filters, pucks, tea leaves, or packets.
- Nearby mug storage so serving does not become a separate trip.
Standard drip machines and espresso makers usually need about 18 to 22 inches of vertical clearance for water reservoir removal and bean loading. That measurement rules out more cute shelves than most people expect.
Compare the usual locations honestly
A kitchen counter is the easiest option if you have space near water and trash. A sideboard can work for tea, pastries, or a capsule machine, but it may be awkward for daily water refills. Pantry shelves hide supplies well, though they can feel cramped during brewing. Bar carts look flexible, but wheels and hot water are not always a calming combination. A dining room cabinet can suit an after-dinner espresso ritual. A wall-mounted shelf is best for mugs and dry goods, not for the active brewing itself.
Warning: Do the empty-cup test before installing shelves or buying a cart. The attractive spot is not always the usable one.
Decide What Kind of Café Moment You Want
A beginner usually asks, “What should I buy?” A more useful starting point is, “What moment am I trying to make easier?”
If your real weekday habit is a fast mug of drip coffee, do not build the corner around a fantasy of slow pour-over unless you actually brew that way. If Saturday is pastry-and-tea time, let the space hold a kettle, two favorite cups, and a small plate stack. If the evening ritual is espresso after dinner, the station needs tamping space and a way to clean milk residue quickly.
This is where a short audit helps. Look at what you drank last week, not what you saved on social media. The visual anchor should match the most frequent use case.
Three style directions that stay practical
- Minimalist brew shelf: best for compact pour-over, AeroPress-style brewing, or tea.
- Cozy bakery-style counter: best for drip coffee, mugs, napkins, and a pastry plate on weekends.
- Compact espresso-and-milk station: best when you can leave enough room for tamping, steaming, and wiping down.
Adjusting the setup footprint based on whether the primary brewing method is a compact pour-over or a wide-bodied dual-boiler espresso machine keeps the corner grounded in reality.
Build the Core Setup With Only What You Use
The most functional home café corners are usually smaller than people expect. A tight core setup can fit inside about a 14-by-20-inch footprint using a standard serving tray, provided the tray holds only what earns its place.

Start with the daily-use items
- Brewer or kettle.
- Grinder, if you use one regularly.
- Coffee or tea storage.
- Mugs for the normal number of drinkers.
- Filters, if needed.
- Spoon or scoop.
- Napkins or a small towel.
- A small waste solution for grounds, wrappers, or tea bags.
Then remove anything used fewer than three times a week. Put the seasonal toppings, spare syrups, extra filters, and specialty tools in closed storage. They can still be nearby; they do not need front-row counter space.
Match the setup to the brewing style
Drip machine users need vertical clearance, filter storage, and a landing spot for the carafe. Pour-over users need kettle space, a stable scale area, and a place to set wet filters or spent grounds. Espresso users need room for tamping, knock-box access if they use one, and fast milk cleanup.
The point is not to make the corner sparse. It is to make the first cup less scattered.
Pro Tip: If you are unsure what belongs on the tray, empty the station completely and rebuild it during your next actual brew. Whatever you reach for belongs close. Everything else can wait.
Use Zones So the Corner Stays Tidy
Commercial barista stations follow the sequence of work. Pull the shot, steam the milk, serve the drink, reset the area. A small kitchen can borrow that logic without pretending to be a café.
The three-zone layout
| Zone | Primary Function | Typical Items |
|---|---|---|
| Brew Zone | Active coffee or tea preparation | Machine, kettle, grinder, scale, filters |
| Serve Zone | Drink finishing and staging | Mugs, spoons, sweeteners, napkins, carrying tray |
| Refill Zone | Restocking and cleanup | Beans, tea, filters, towels, small waste container |
The brew zone should hold the equipment and tools that touch the preparation process: machine, kettle, grinder, filters, scale, or scoop. Keep this area clear enough for hot water and steady hands.
The serve zone is softer. Mugs, spoons, sugar, syrups, napkins, and a tray belong here. If you carry coffee to another room, the tray is not decorative; it is part of the system.
The refill zone can sit in a drawer, cabinet, basket, or lower shelf. It holds the backup items that keep the corner from becoming overfilled.
Add Café Atmosphere Without Adding Clutter
Café feeling rarely comes from having more objects. It comes from sensory cues: warm light, clean surfaces, pleasing materials, and a ritual that feels slightly more intentional than grabbing a mug in the dark.
Choose one or two atmospheric elements, not six. A small lamp with a 2700K to 3000K warm LED bulb can soften the counter without competing with harsh overhead kitchen light. A linen towel, ceramic sugar bowl, small plant, framed print, or narrow shelf of matching mugs can do enough.
Materials matter because they age with use. Wood, ceramic, glass, linen, and brushed metal tend to look better when handled daily. Plastic bins can be useful, but if every container is visible, the corner starts to feel like storage instead of a ritual.
Use scent and sound lightly
Fresh coffee aroma is already doing most of the work. A quiet playlist or small radio can make the morning feel settled, but the kitchen should not have to compete with a café soundtrack while someone is packing lunch.
Atmosphere should support the routine, not interrupt it.
Three Simple Setup Plans by Budget and Space
These plans start with brewing stability and sanitation. Decorative pieces come after the workflow proves itself for a week.
Compact rental-friendly setup
Use a tray, a kettle or compact brewer, two mugs, an airtight coffee container, and a small basket for filters or tea. This works well on a counter, sideboard, or movable cart. Keep it freestanding so you can shift the station when guests visit or when the kitchen layout changes.
Family kitchen setup
Choose a designated counter section with a mug shelf, refill drawer, drip brewer or pod machine, and an easy-clean mat. The goal is predictability. Everyone should know where the filters go, where the spoons land, and where used pods or grounds belong.
Slow-coffee setup
Use a pour-over dripper, gooseneck kettle, scale, grinder, filter holder, and narrow tray for tools. Give the scale a flat, stable surface. If the grinder is loud, place it where it will not turn the whole morning into a negotiation.
Keep the Routine Light Enough to Last
The setup is not finished when it looks good. It is finished when resetting it feels easy.
A daily surface reset should take just a few minutes: toss grounds or tea bags, wipe the wet area, return mugs, close containers, and restock anything needed for the next morning. The weekly deep clean and restock takes roughly a quarter of an hour if the supplies have homes.
- Wipe the brew zone after the final drink of the day.
- Refill water only if the machine instructions and your routine make that sensible.
- Move empty bags, boxes, and wrappers out immediately.
- Check filters, beans, tea, and napkins once a week.
- Wash trays and mats before residue becomes sticky.
This is the unglamorous part, but it is where the café corner earns its counter space.
What a Simple Home Café Corner Cannot Fix
A well-planned station can make brewing smoother, but it cannot rescue stale beans, poor water quality, or equipment that does not fit your habits. Organization helps the environment around the cup. It does not automatically improve extraction, freshness, or taste.
One important qualifier: this guidance assumes the reader already has a brewing method they like well enough to repeat. If the coffee itself tastes flat, sour, bitter, or inconsistent, the next step may be better beans, cleaner equipment, adjusted grind size, or a simpler brewer rather than another shelf.
Renters and shared-kitchen households also need different boundaries. Permanent shelving or wall-mounted organizers can violate many standard lease agreements, so freestanding trays, baskets, and movable carts are safer choices in temporary housing.
The best home café corner does not need to impress anyone. It needs to meet you where you actually stand in the morning, cup in hand, trying to make the first drink with a little less friction.